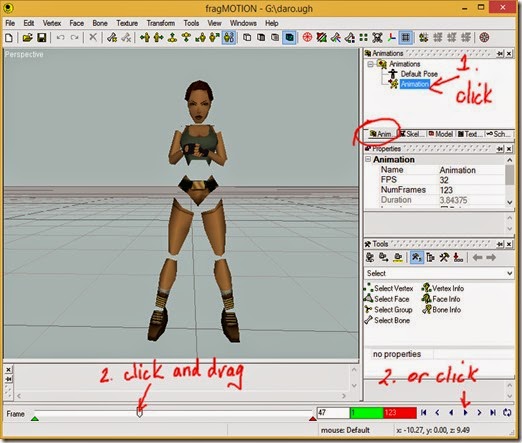
Rather than creating a new animation by posing the model at various frames (keyframing) , I’m am going to try an import one from a BioVision *.bvh file the same as I did with Mikoto [link].
If successful then maybe it’s possible to save the animation to MilkShape 3d *.ms3d and import it into a TRLE *.wad file with Daro Anim Maker or a *.TR4 file with Fexanim.
Click File>Merge Animation in the main menu and open the “dance01.bvh” file located in Mikoto’s Sample folder.
You will presented with the Merge dialog which displays the hierarchy for the model opened in fragMOTION (Existing Skeleton) on the left and the hierarchy of the imported animation (Merged Skeleton) on the right.
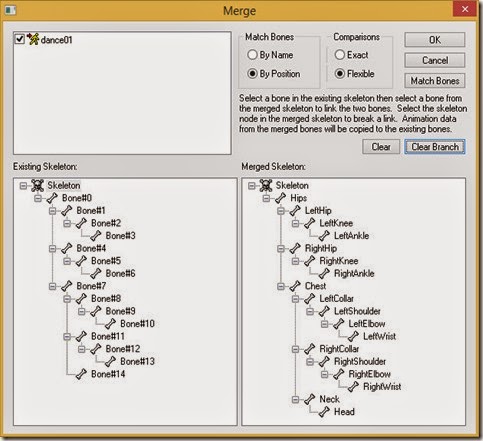
The purpose of this dialog is to copy the rotations, and translations if any, of a Merged Skeleton bone to a bone in the Existing Skeleton.
You can try and use the Match Bones button to do this automatically.
Trying to match bones by name or position with Exact comparisons did nothing.
Trying to match bones by name with Flexible comparisons is no good since no bone names are common to each skeleton.
Trying to match bones by position with Flexible comparisons resulted in the bones being matched incorrectly.
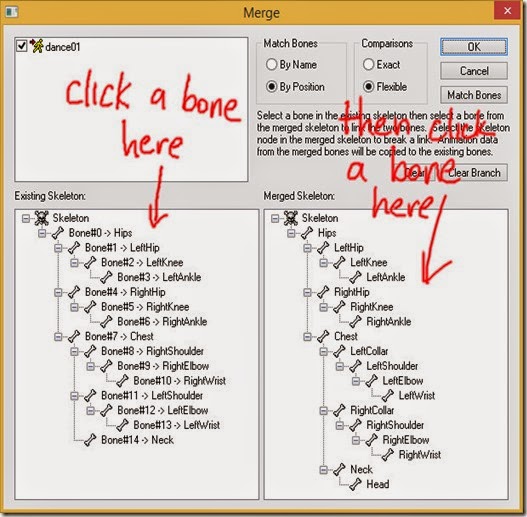
To match the bones manually, click a bone in the Existing Skeleton (left list) and then click a bone in the Merged Skeleton (right list).
Match the bones as shown below. Note that since there are more bones in the Merged Skeleton you have to choose which bones are a better match for the Existing Skeleton.
The Existing Skeleton doesn’t have collarbones so we will leave them out and probably the Merged Skeleton’s neck bone is a better match for the Existing Skeleton’s head bone.
The root bone (no bones above it) of the Merged Skeleton should always be matched to the root bone of the Existing Skeleton. In this case it means Bone#0 should be matched to Hips.
The other matches are mostly obvious. The matching would be easier if you rename the bones of your model in the Skeleton pane.
Click OK and fragMOTION will create a new animation. The Animations pane has been undocked in the next screenshot by clicking and dragging the Animations tab.
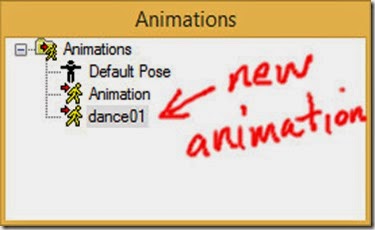
If you click on the new animation you won’t see our model until you zoom out a lot.
The model is positioned way above the grid and this means the translation of the root bone has not been converted correctly from the Merged Skeleton to the Existing Skeleton.
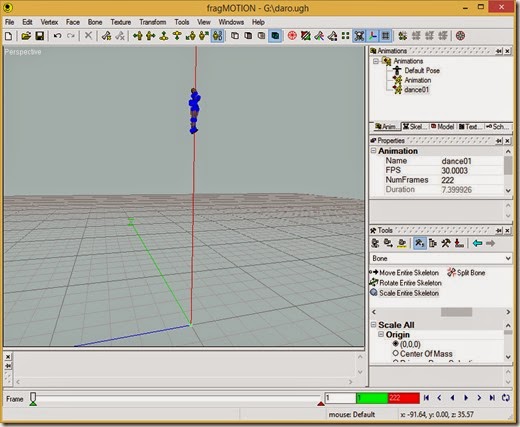
The rotations are incorrect too.

When merging animations you should always compare the sizes (rotation keys don’t need to be scaled but translation keys do), orientation (forward and up) and pose (arms out or down) of the default poses of the two skeletons
In the animation tab click on Default Pose.
- up is +Y
- forward is –Z
- arms by side
- root bone (Bone#0) at 0, 0, 0
- hip bone to ankle bone is 3.97 units

Open the *.bvh file without saving changes to our model.
For “dance01.bvh”
- up is +Y
- forward is +Z (the collar bones stick out the front)
- arms by side
- root bone (Hips) at 0, 0, 0
- hip bone to ankle bone is 36.38 units
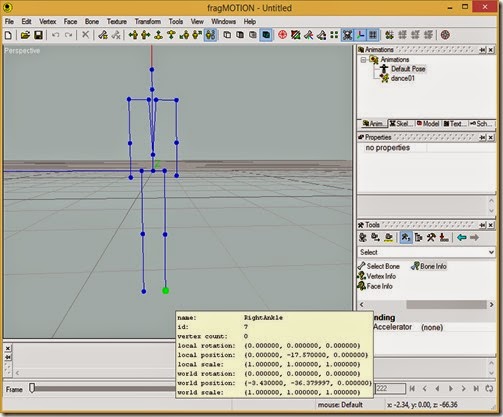
So the *.bvh skeleton is about ten times bigger than our skeleton. This means the translations of the root bone would have to be scaled down about ten times and fragMOTION didn’t do this automatically.
I couldn’t find a way to scale the translations in fragMOTION.
I tried a Lua script to scale the translation keys for the Hips but this gave the animation jerkiness.
I tried transforming the *.bvh skeleton using Scale All but this resulted in the Hips translation keys reducing to zero so the skeleton just rotated about the origin.
After researching some *.bvh viewers I found bvhacker [link] which can scale a *.bvh skeleton by a factor of 2.
Scale down the *.bvh until the Y Joint Translation of the Hips is 4.99 which is as close as we can get and save the *.bvh to a different name.
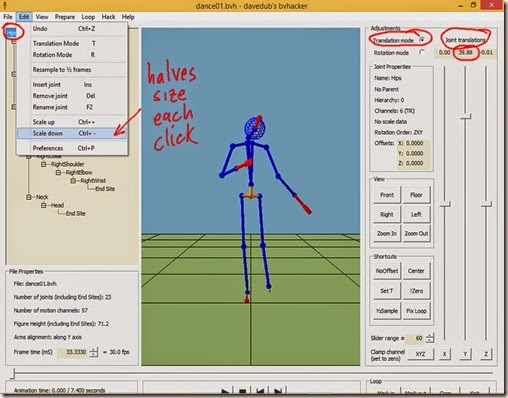
The two skeletons face different directions and this is why the rotations were incorrect so we need to rotate the *.bvh and fragMOTION can do this.
Open the scaled *.bvh in fragMOTION, click on the Default Pose in the animations tab, select the Transform tools from the Tools dropdown list and click on Rotate All.
In the Rotate All settings click Origin (0,0,0), set AngleY to 180, make sure correct animations is true and then click Invoke.

The *.bvh skeleton now faces the –Z direction. Play the animation to check that it still looks correct then click File>Export and save the animation as a BioVision Files *.bvh file.
Open our model’s *.ugh file and click File>Merge Animation and open the scaled and rotated *.bvh file.
Match the bones the same as before and click OK and play the animation. It’s not perfect since the model is still slightly above ground. Also the head movement is not as good as it was in Mikoto.

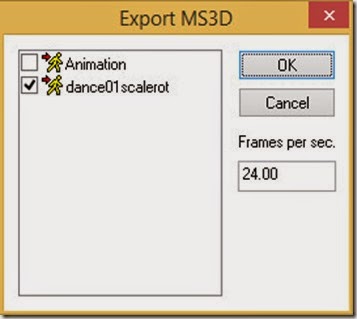
Click File>Export, name the file, choose MilkShape3D Files (.ms3d) as the file type, click Save, choose the animation to save and click OK.
Open a *.wad file in Daro Anim Maker, select the Lara object and select an animation.
From the main menu click Animation>Add Animation and then select the animation you added which will be the last animation.
Click Animation>”Import From MS3D” and open the *.ms3d file exported from fragMOTION.
Check/Tick “Show Anim Translation” and play the animation. To calculate the collision for the animation, check/tick “Apply to Moveable” and click the “Calculate Bounds” button.
IMPORTANT: Set the Framerate and Total Frames animation parameters and apply them before saving the *.wad file. Total Frames defaults to 1 so you must change it or else one frame only will be played in game.

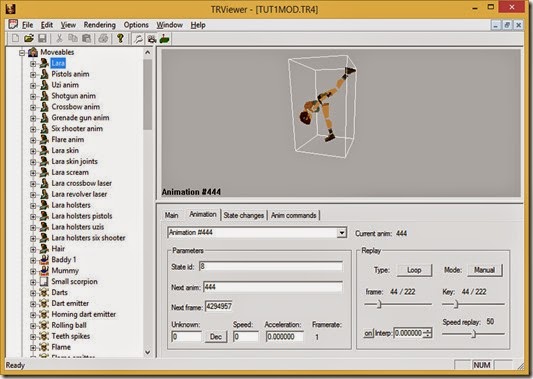
Save the *.wad and check the animation in Wadmerger and in game. (OFFTOPIC: It appears that the collision isn’t calculated correctly.)
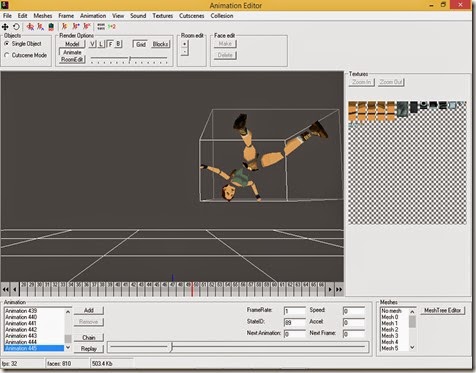
In Fexanim, open a *.TR4 file, select the Lara object, select an animation, click File>”Import From MS3d” and open the *.ms3d file.
With Fexanim the imported animation replaces the existing animation and you cannot see the translation of the root mesh. The collision is also calculated automatically on import.
IMPORTANT: You will also need to set the Animation parameters like number of frames and framerate and click “Apply Changes” before saving the *.TR4 file. Remember to include the extension in the file name when saving with Fexanim.

prev | next
No comments:
Post a Comment